Step 1.
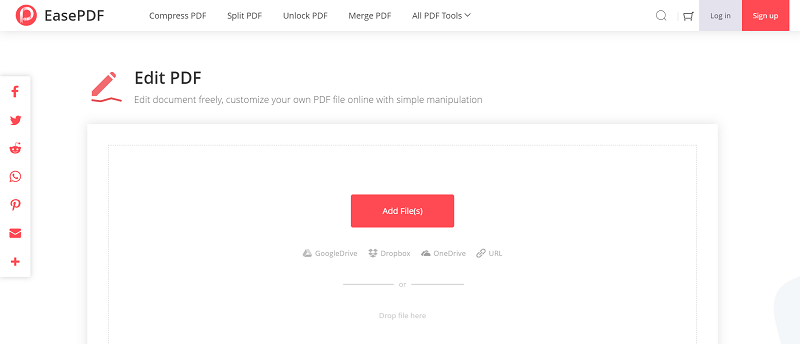
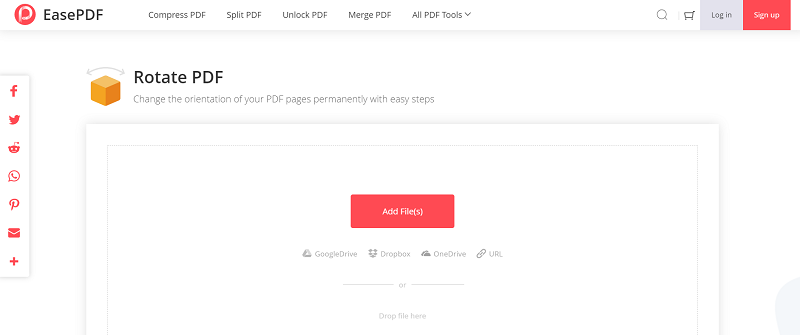
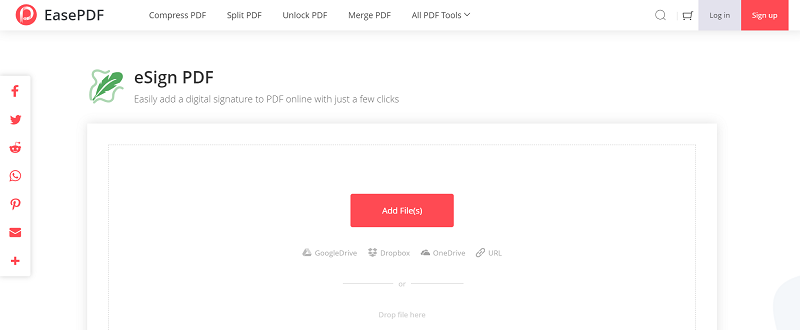
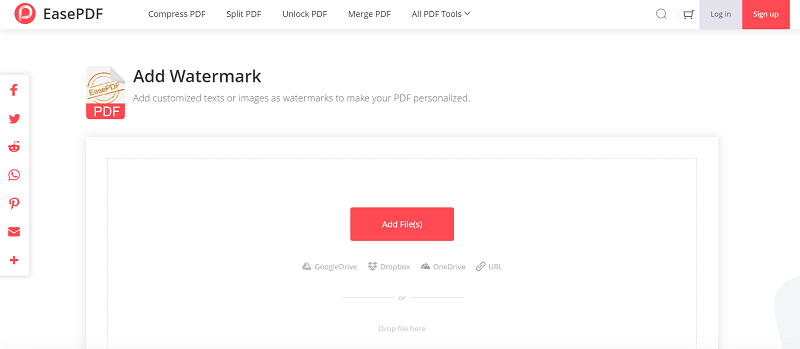
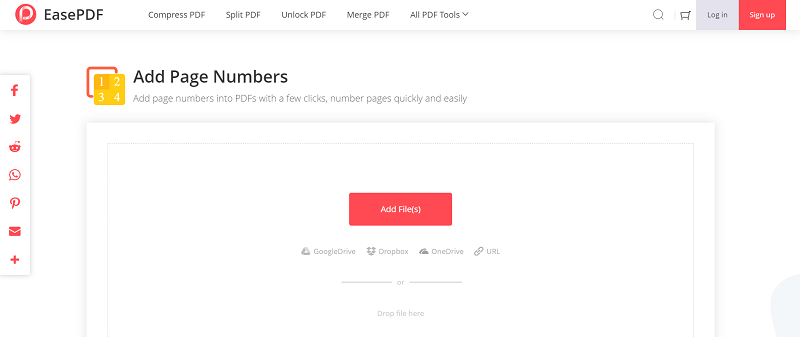
Upload A PDF Document
EasePDF can only number one PDF document at once, so you can only import one file to the tool after going to the "Add Page Numbers" tool. Choosing files from GoogleDrive, Dropbox, and OneDrive is also available.
Step 2.
Add Numbers to the File
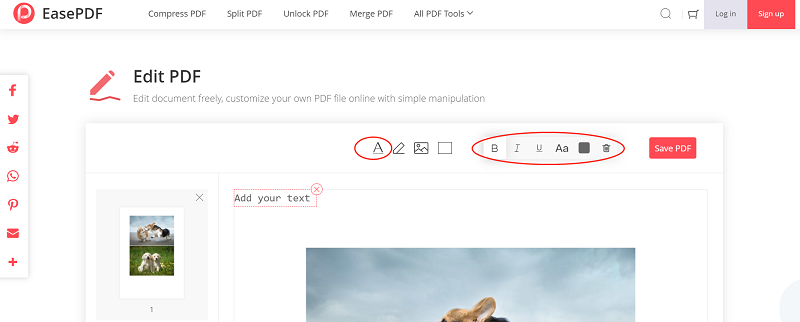
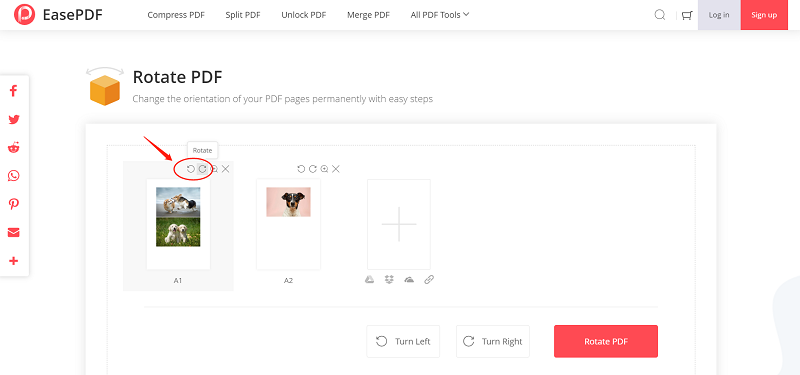
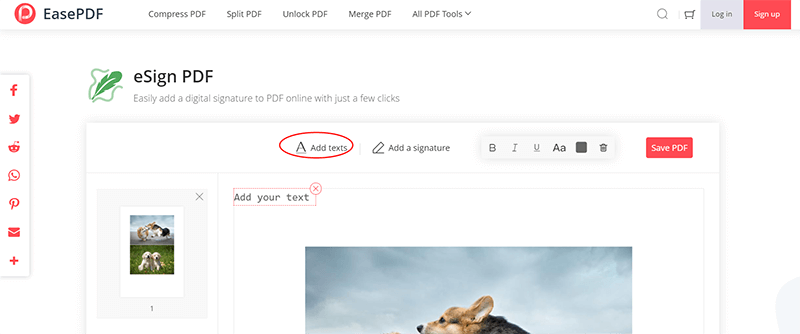
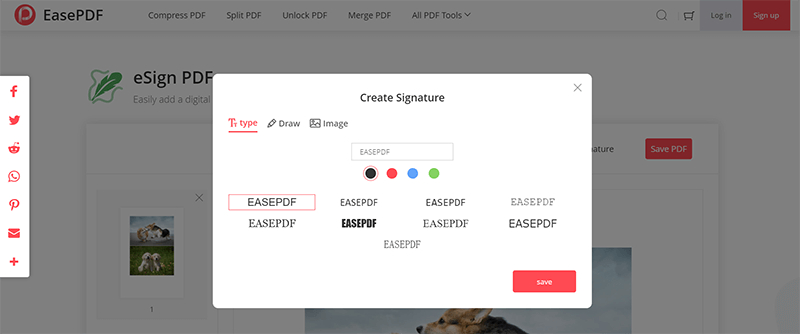
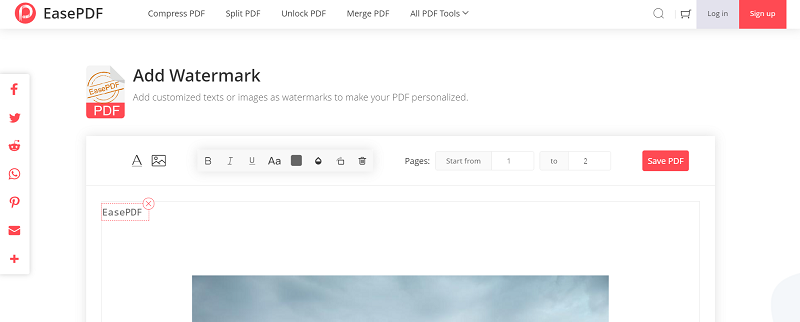
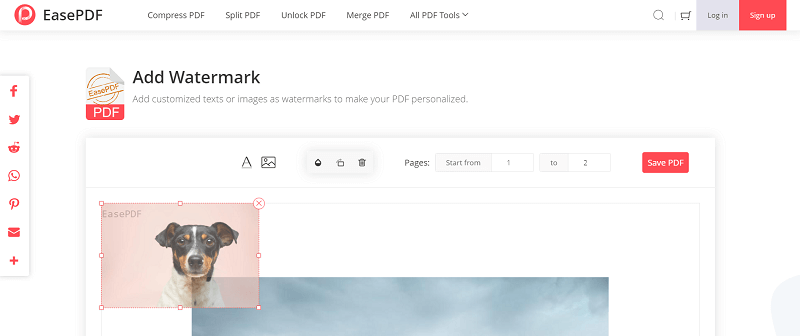
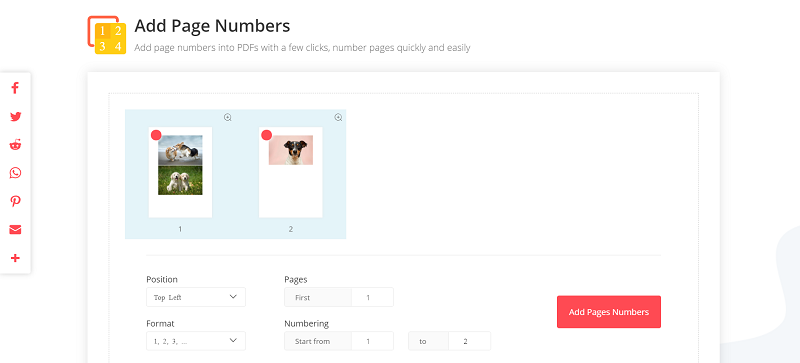
When the PDF document is added to the tool, select the page range for adding numbers. You can edit the page numbers using the provided tools:
Position: Select a place on the page to set the page numbers such as "Top Left", "Top Center", "Top Right", "Bottom Left", "Bottom Center", and "Bottom Right".
Pages: Enter a number for the first page you want to add. For example, if you enter "1" on the "First" column, the page numbers will start from "1". If you enter "2", the page numbers will start from "2".
Format: You have free formats for setting the page numbers, such as "1,2,3...", "Page {N}", and "Page {N} of {M}".
Numbering: Set the page range that you want to add page numbers. For example, if you choose to "Start from 2 to 7", the page numbers will be added from page 2 to page 7 of your file.
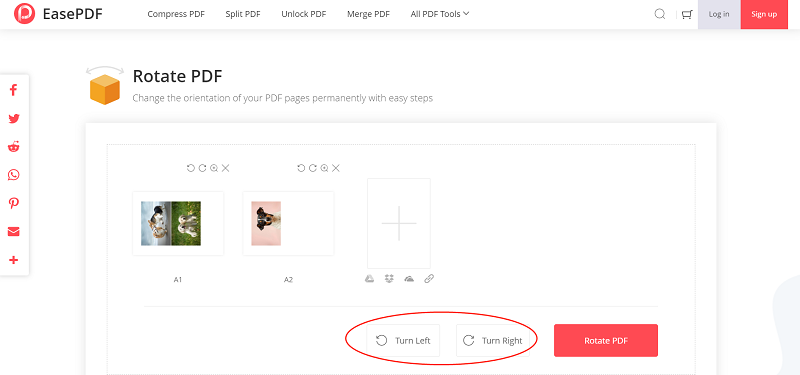
After the settings are completed, click "Add Pages Numbers" to apply the changes.
Step 3.
Download the PDF
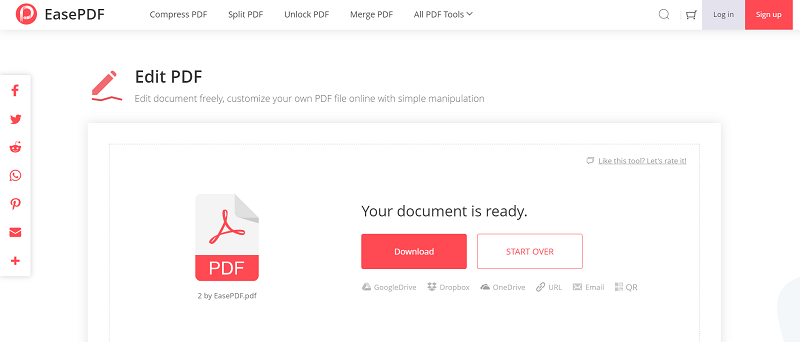
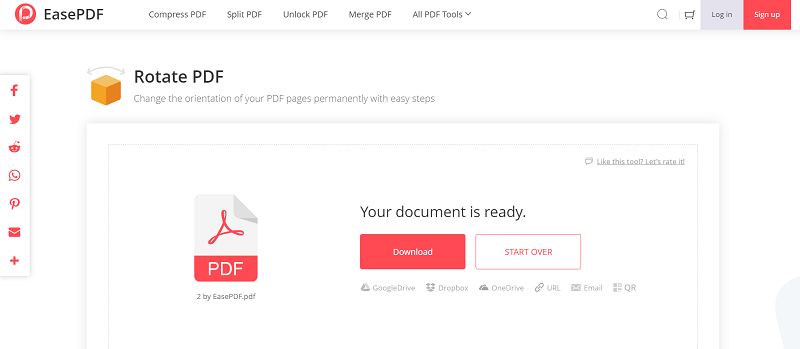
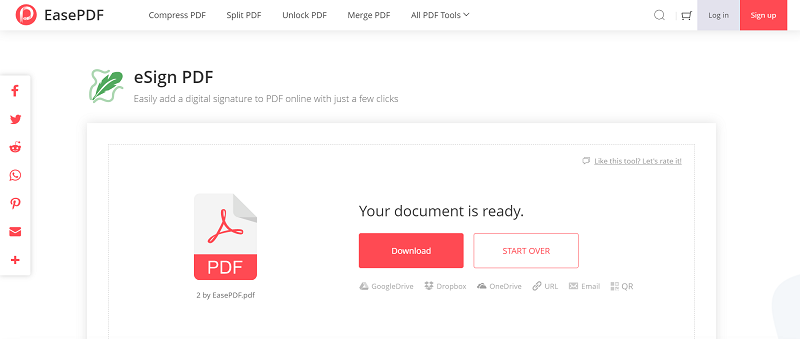
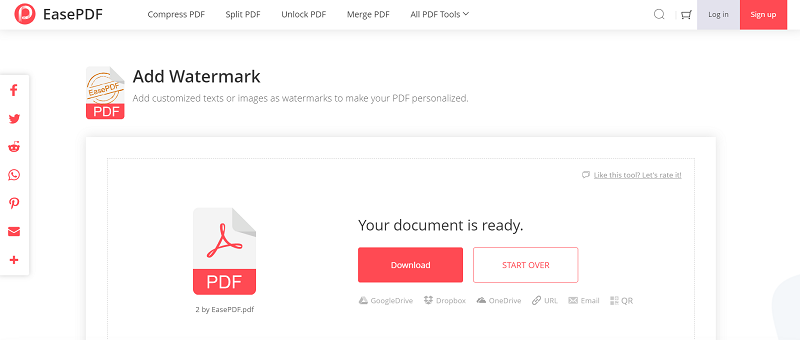
When EasePDF prepared the numbered PDF document for you, only click the "Download" icon for getting it saved to your device. Otherwise, you can save it to your cloud platforms such as GoogleDrive, Dropbox, or OneDrive so you can access them also on your other devices.
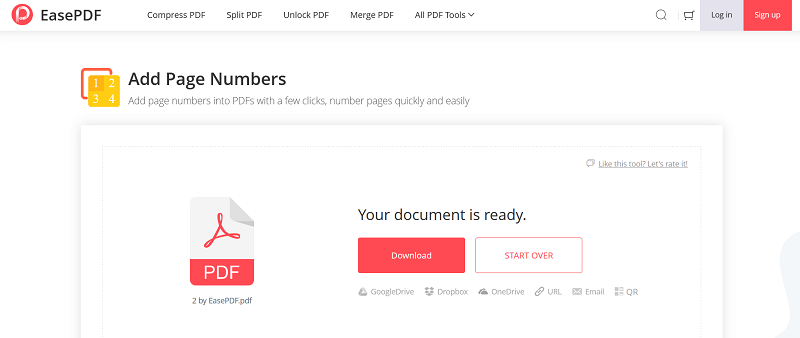
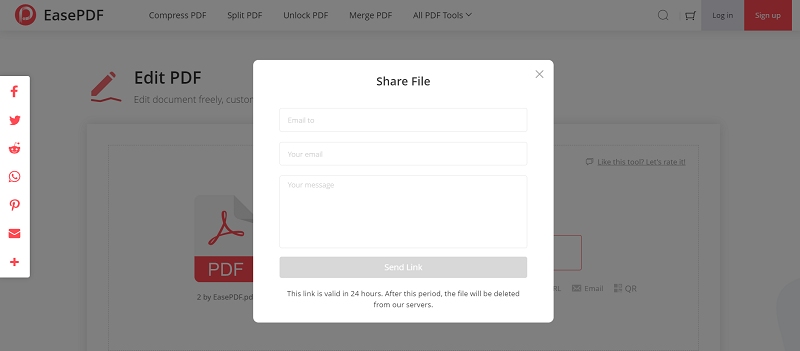
If you want to download the PDF later, saving the URL or QR code is also available. You can come back to download the file within 24 hours.
Tip: When you have added a PDF document but find that EasePDF fails to edit it, it may because the document is encrypted or converted into the read-only mode. You can unlock the PDF document before editing them. If this document is saved in a read-only mode, EasePDF can even help you unlock it mandatorily.

